
If your WordPress media library looks like a dumping ground of IMG_4832.jpg files with no titles, no alt text, and no organisation, you're not alone. Most WordPress sites accumulate media debt over time, and it silently hurts both your workflow efficiency and your SEO.
Here's how to fix it.
Why Your Media Library Matters
The media library isn't just a file store. WordPress uses the metadata attached to your images, title, alt text, caption, description, and filename, in several places:
- SEO: Alt text and filenames are crawled by search engines
- Accessibility: Screen readers use alt text to describe images
- Search within WordPress: The admin search box queries titles and descriptions
- Image blocks: Captions are displayed beneath images in posts
When these fields are empty, you're leaving value on the table.
Problem 1: Unoptimised File Sizes
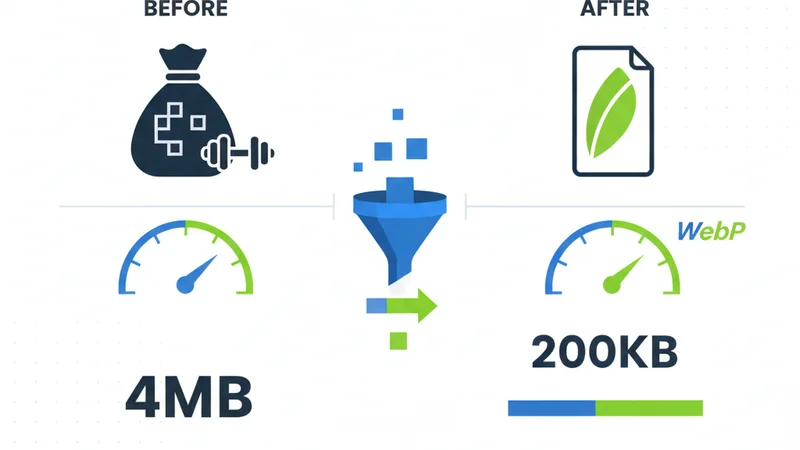
The most common media library issue is oversized images. A 4MB photo from your phone doesn't need to be served at full resolution on a blog post.
What to do:
- Compress images before uploading to WordPress, not after
- Use modern formats like WebP. They're 25-35% smaller than JPEG at equivalent quality
- Resize to sensible dimensions (most blog images don't need to exceed 1200-1600px wide)
WordPress does generate multiple sizes when you upload (thumbnail, medium, large, full), but it starts from whatever you upload. If you upload a 5000px-wide image, you're storing unnecessary data and the full-size file is still accessible via direct URL.
Problem 2: Missing Metadata
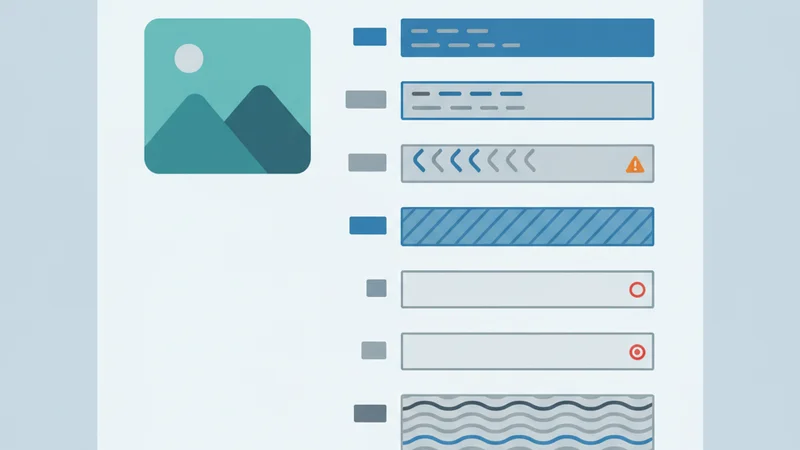
Every image in your library should have at minimum:
- Title: A readable, descriptive name
- Alt text: What the image shows (see our alt text guide)
- Filename: Something descriptive, not
DSC_0042.jpg
Ideally, you'd also fill in:
- Caption: Displayed below the image when inserted into content
- Description: Searchable within the WordPress admin
Filling in all five fields for every image is tedious but important. When you're uploading dozens of images for a new post or product catalogue, it's the step most likely to get skipped.
Problem 3: No Upload Strategy
Most people upload images one at a time through the block editor. This works, but it means:
- No batch processing
- No consistent naming convention
- Metadata has to be added manually in the media modal
- Images are compressed (if at all) one by one
A better approach is to prepare your images before uploading: compress, rename, and generate metadata in a batch, then upload them all at once with metadata already attached.
SquishMate was built around this exact workflow. You drop in a batch of images, they get compressed to your preferred format and quality, AI generates all five metadata fields, and the optimised images upload directly to your WordPress media library, with metadata already in place. No plugins required on the WordPress side.
Practical Tips for a Cleaner Library
Use Descriptive Filenames
Rename files before uploading. WordPress uses the filename as the default title, so sunset-beach-malibu.webp automatically gets a better title than IMG_4523.jpg.
Good filenames are:
- Lowercase
- Hyphen-separated (not underscores or spaces)
- Descriptive of the image content
- Under 50 characters
Compress Before You Upload
Don't rely on WordPress plugins to compress images after upload. Compressing before upload means:
- Faster upload times (smaller files transfer quicker)
- Less server load (no background processing needed)
- Consistent quality (you control the output, not a server-side plugin)
- Lower hosting storage costs
Upload in Batches
Group related images and upload them together. This helps you:
- Apply consistent metadata across a set
- Maintain naming conventions
- Review everything before it goes live
Add Context to Your Metadata
Generic metadata is better than nothing, but contextual metadata is better than generic. If your images are for a blog post about "summer camping gear", your alt text should reflect that context, not just describe the raw visual content.
For example, instead of "red backpack on grass", context-aware metadata might produce "lightweight red hiking backpack for summer camping, 40L capacity". The context makes the metadata more relevant to both users and search engines.
Handling Legacy Images
If you have an existing library full of images with missing metadata, the most practical approach is:
- Prioritise high-traffic pages. Fix metadata on images that get the most views first
- Export and reprocess. For large batches, download the images, run them through an optimisation pipeline, and re-upload with proper metadata
- Don't boil the ocean. Fixing 50 images on your top 10 pages is more valuable than trying to fix everything at once
Quick Checklist
- Compress images before uploading (not after)
- Use WebP format where browser support allows
- Rename files to be descriptive and hyphenated
- Fill in alt text for every image
- Add titles, captions, and descriptions where relevant
- Upload in batches with consistent naming
- Regularly audit your most-visited pages for missing metadata
Start Here
Pick one upcoming blog post and prepare its images before uploading: compress to WebP, rename with descriptive filenames, and write alt text for each. Upload the batch together. That single post will take less time than your current workflow, and the result in your media library will look noticeably different from the IMG_4832.jpg clutter around it.